
Installing the Dark30 Defiance 360° PTZ thermal camera system on your vehicle might seem like a daunting task, but the process is relatively simple and does not take an entire afternoon to do. This guide walks you through each step, from mounting the camera and securing the display screen to managing cables for a clean, professional setup. With the right tools and a little preparation, you’ll be ready to explore the advantages of thermal visibility on your next drive or adventure, whether in your truck, SUV, or UTV.
To install the Dark30 Defiance, you’ll need some tools that don’t come included with the kit: a 30mm socket, #6 Allen wrench, zip ties, and a conduit for wire management. Simply follow the steps in this setup to guide you through mounting the system semi-permanently onto your vehicle:
Step 1: Position the Mounting Plate

Positioning the mounting plate
Start by locating the ideal spot on the roof for the Dark30 mounting plate—centered and as far forward as possible so the unit is generally positioned above the center console, or between the driver’s and passenger’s seats. Make sure the arrow indicator on the plate faces forward. This orientation ensures that when the camera resets, it will pan correctly to its default position. Mark the hole positions with a marker or pencil then remove the camera base to drill the pilot holes directly through the roof of your vehicle.
Step 2: Drill Pilot Holes

Drilling the pilot holes.
Drill four pilot holes in the top of your vehicle. Since the Dark30 Defiance requires M8 screws, use a #27 drill bit to make holes slightly smaller than the screw heads. This step helps anchor the plate securely without causing excessive roof damage.
Step 3: Secure the Camera Base

Attaching the mounting plate may require two people: one to tighten the screws on the roof, another to fasten the mounting nuts inside the cab.
With the pilot holes ready, reattach the camera base then insert the screws into each hole, fastening them with the mounting nuts from your Dark30 Defiance kit. Tighten the top screws with the #6 Allen wrench, then fasten the mounting nuts with a 30mm socket wrench. Next, align the camera with the camera base using the three rings on its underside, matching the forward-facing arrows on the camera and the mount.

Once aligned, tighten the small set screw on the side of the camera to lock it in place, ensuring it won’t shift during use.
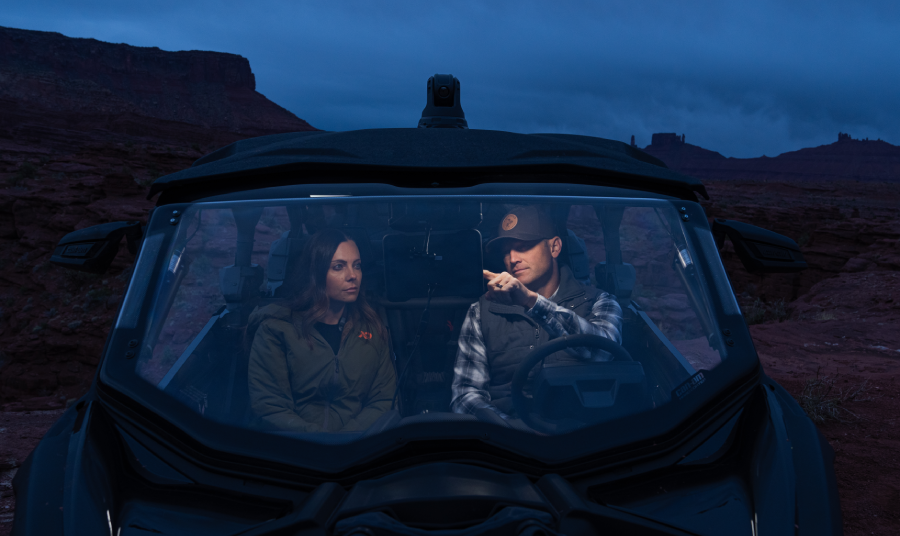
Step 4: Attach the Display Screen
Now, it’s time to set up the display inside your vehicle. You have multiple mounting options for this: either use a suction cup on the windshield, attach it to the grab bar, or fix it on a side rail. Whichever option you choose, make sure to tighten the small black ring on the back of the screen to stabilize it. This prevents the display from bouncing while driving, keeping it securely in place.
Step 5: Connect Power and Video Cables

After connecting one end of your power and video cables to the Defiance’s screen, plug the other ends into your vehicle’s 12v cigarette lighter outlets. If your vehicle only has one 12v outlet, use the included power splitter to accommodate both cables. This setup powers both the camera and the display screen, allowing you to view and control the camera from the driver’s seat.
Step 6: Cable Management
Managing the loose wires will keep your installation neat and avoid tangling. For SUVs or trucks, tuck the cables along the edge of the interior roof and secure them with zip ties or adhesive clips to maintain a clean look. For UTVs, consider using a conduit to bundle wires along the frame for added protection and a streamlined setup.
While the Dark30 Defiance is IP66 water resistant and thus protected from rain and the elements, it is still a good idea to stow the device when it is not in use. Simply loosen the There is no need to remove the camera base from the roof of your vehicle.
The Dark30 Defiance also offers magnetic and suction cup options for temporary mounting, perfect for scenarios where quick setup and removal are needed. However, these methods are best suited for low-speed travel or stationary use, as they may not provide a secure hold during high-speed driving. For maximum stability and safety, especially on rugged terrain or at higher speeds, we recommend using the permanent mounting option detailed above. By following these steps, you’ll have the Dark30 Defiance installed and ready for action, offering you full 360° thermal visibility in no time.
Watch the video version of this tutorial below:
To buy the Dark 30 Defiance, click here.
FAQs
Q: Where should I position the mounting plate for the Dark30 Defiance?
A: The ideal spot is centered and as far forward as possible on the roof of your vehicle.
Q: What tools do I need to install the Dark30 Defiance?
A: You will need a 30mm socket, #6 Allen wrench, zip ties, and a wire conduit.
Q: How do I secure the camera base?
A: Tighten the top screws with the #6 Allen wrench and fasten the mounting nuts with a 30mm socket wrench.
Q: How can I mount the display screen inside my vehicle?
A: You can use a suction cup on the windshield, attach it to the grab bar, or fix it on a side rail.
Q: How do I connect the power and video cables for the Dark30 Defiance?
A: Connect one end to the screen and plug the other ends into your vehicle's power source and the camera.